Outhouse Toilet Paper Holder
Read below to see how we made a outhouse toilet paper holder. You can also see our other woodworking products and simple plans to make stuff yourself. Get plans to craft items yourself or contact us at [email protected] for custom orders.
- Author: Jim Ramos, Ph.D.
- Photography and photo editing by: Jim Ramos, Ph.D.
- Updated: 2/22/2023
As an Amazon Associate, I earn from qualifying purchases. Check out the Amazon links for purchasing options of some of the tool, equipment, and materials used in this project.
Needing a place for toilet paper
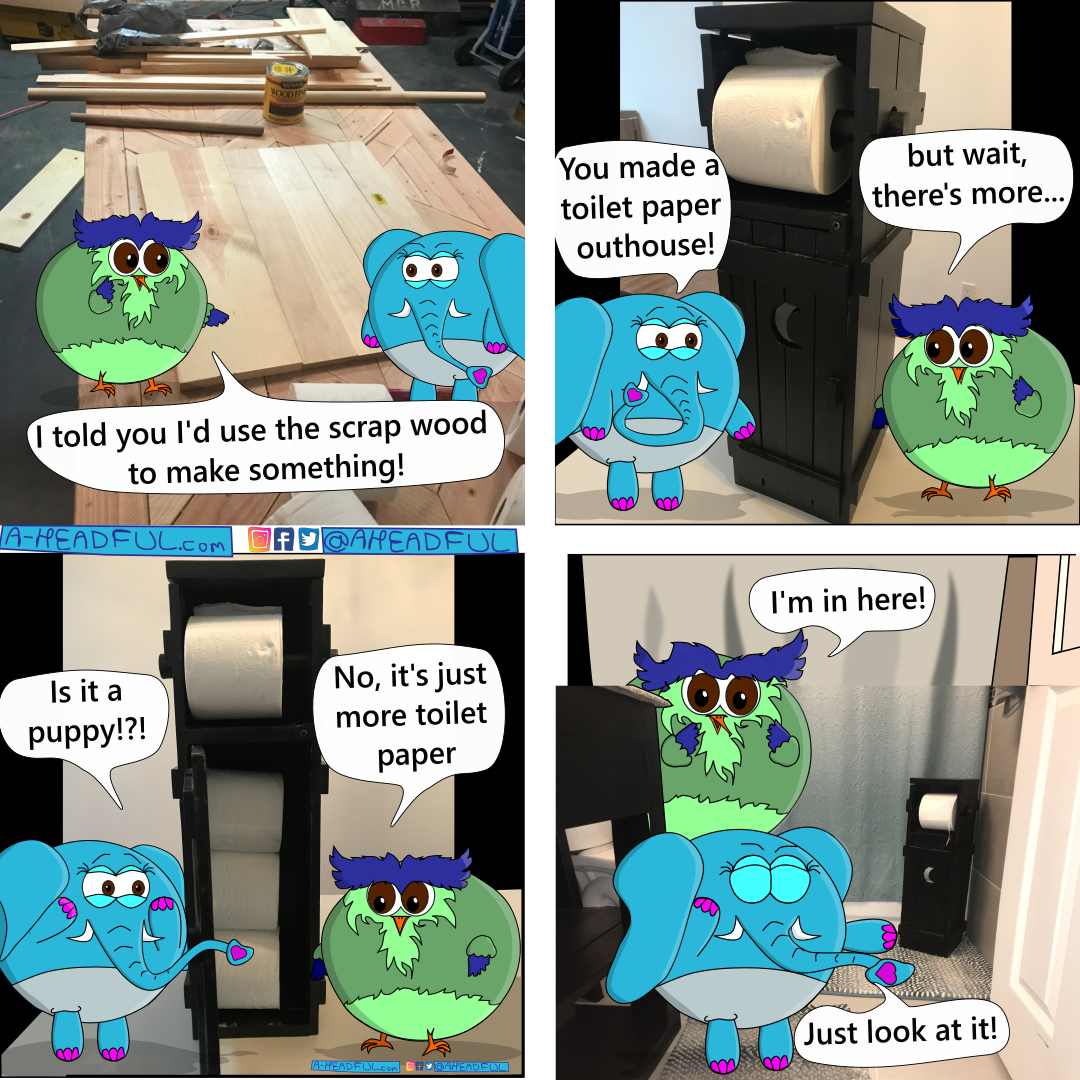
We just got the hallway bathroom remodeled (as of the writing of this), and it came out great! It was a small bathroom to start off with, so we knew we would have to come up with creative solutions for some anticipated space problems. One of these expected space problems was that the toilet would be too close to the vanity. Close enough that a toilet paper roll dispenser placed there would double as an armrest. This being the case, we started looking for different ideas online. After searching for a while we finally decided on an outhouse toilet paper holder.
Collecting the scrap wood
However, I didn’t want to buy an outhouse toilet paper holder; of course not. It is our home, and I am determined to make something for every room. I still use this argument even though I have already made a ladder shelf and vanity and a barn door for the bathroom. Nonetheless, I would make my own outhouse to hold my own toilet paper.
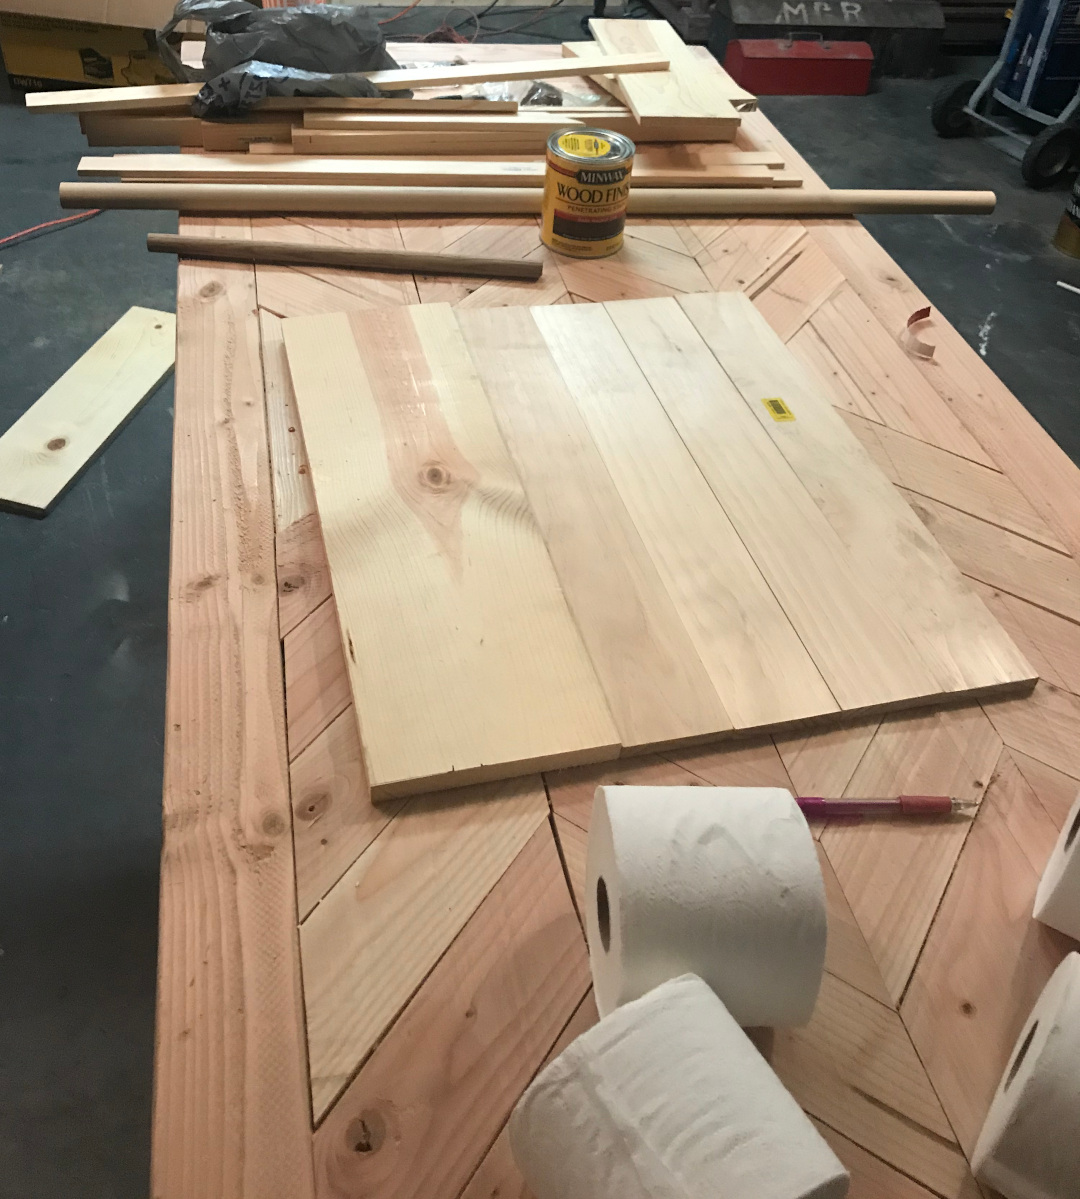
Full of resolve, I decided to take it one step further on the no purchasing. It would be a relatively small project, so I figured I would make my girlfriend (now wife) happy and rummage through my scrap wood pile for this project. Thanks to my “oh, that’s a good piece of wood, I’ll keep it for something” mentality, I had some ½ inch pine planks leftover from making a small barn door. Combined with useable scrap pieces from other projects long forgotten and probably still undone (more small pine planks, some poplar dowels, some 1×8 common board, and some leftover black wood stain. I had enough to make a lovely outhouse. I have a habit of avoiding making plans ahead of time. This ended up being another job where I just started putting things together as I went.
Assembling the walls
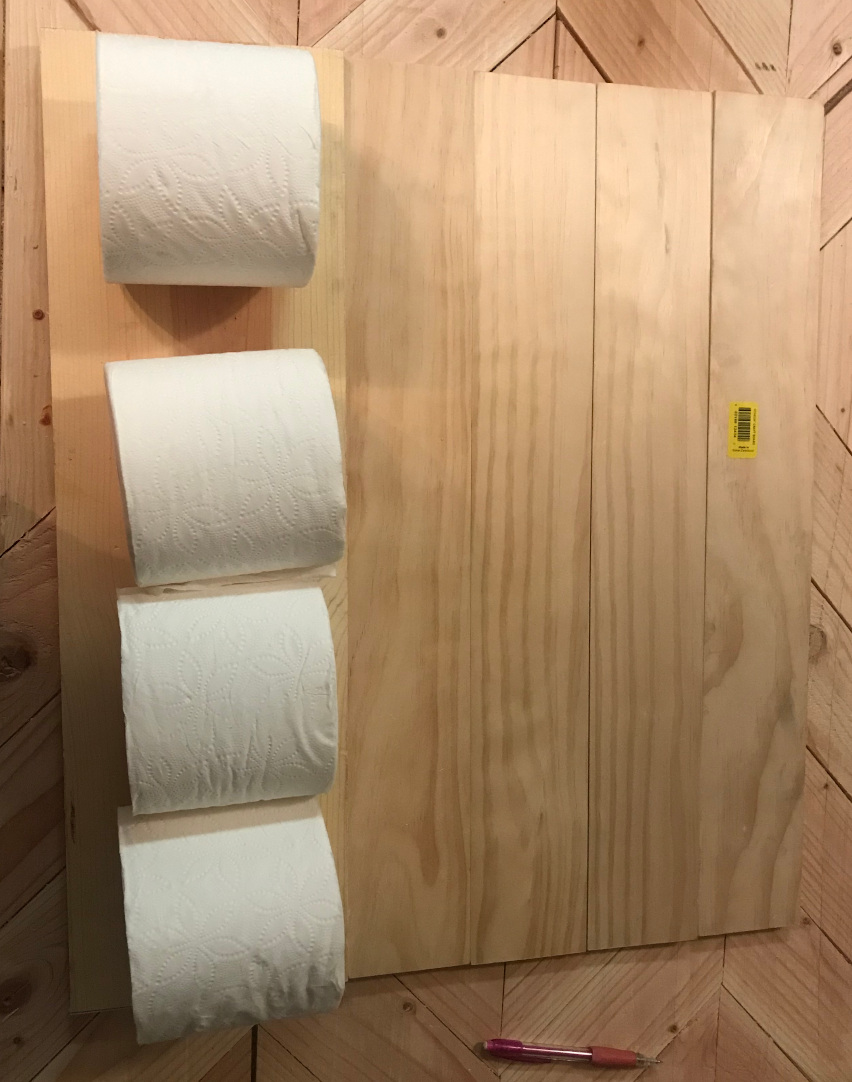
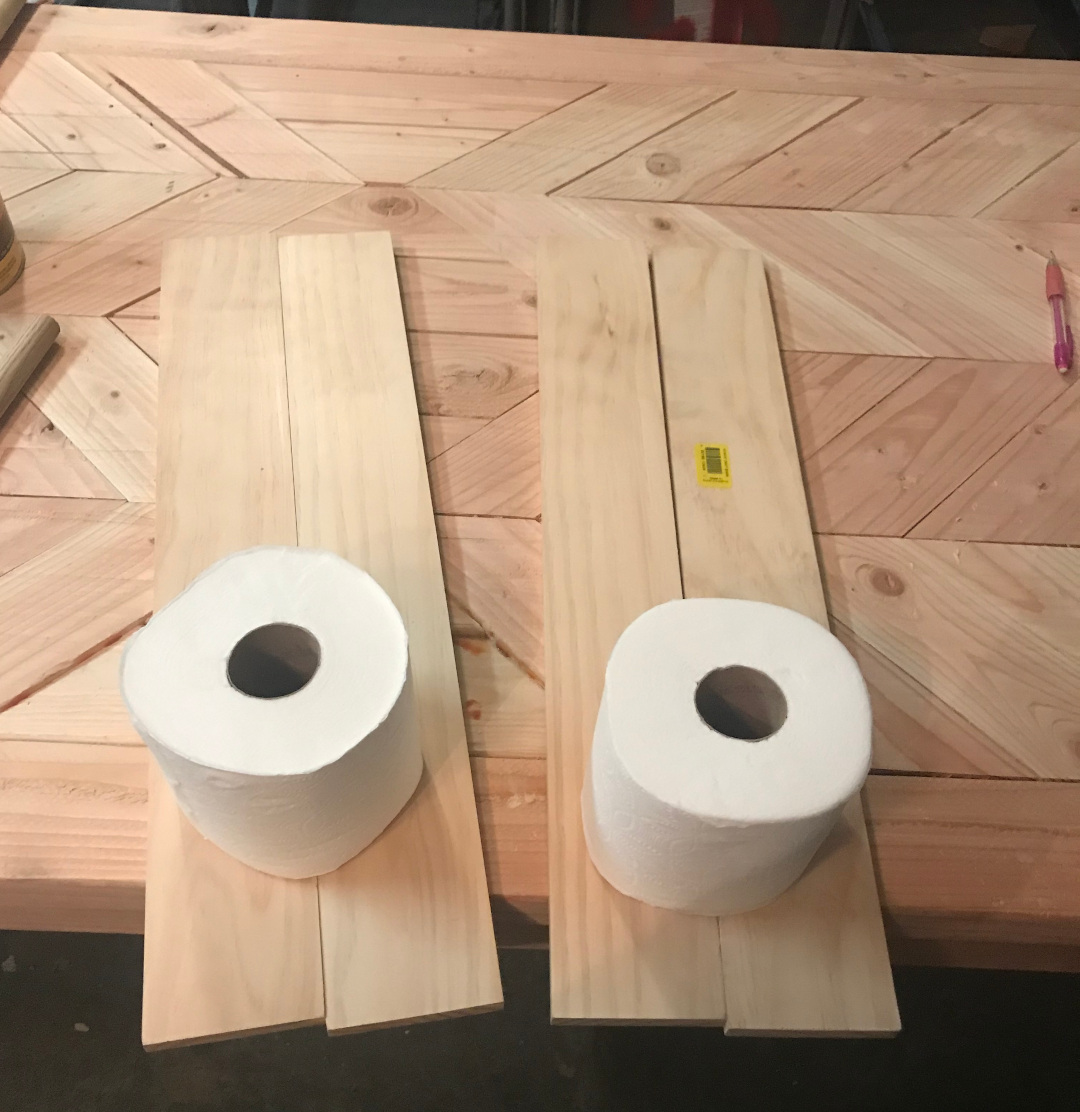
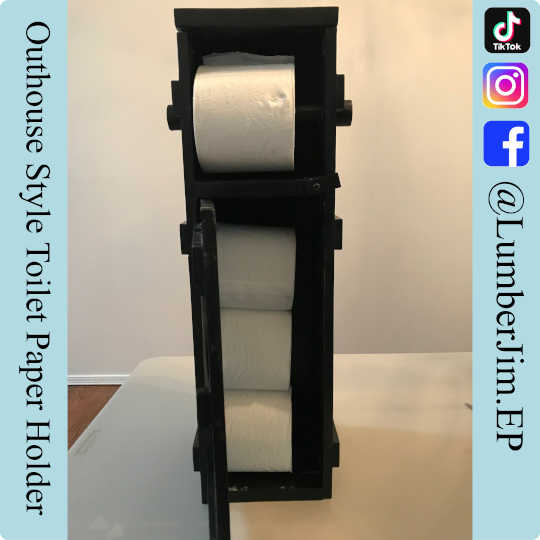
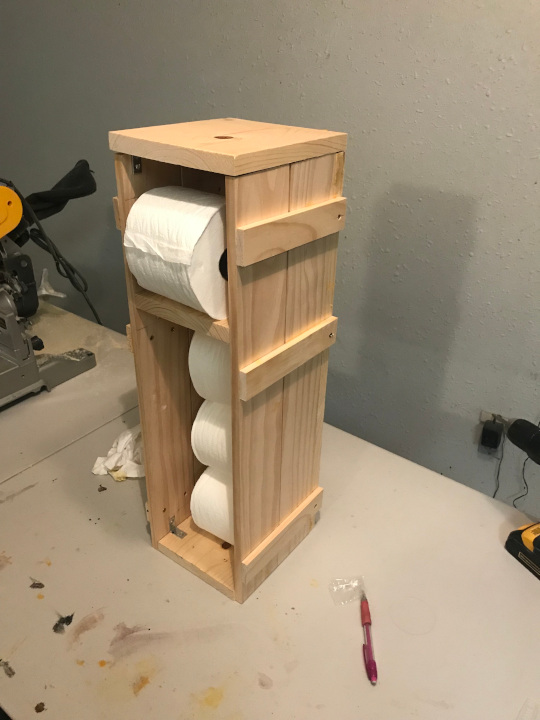
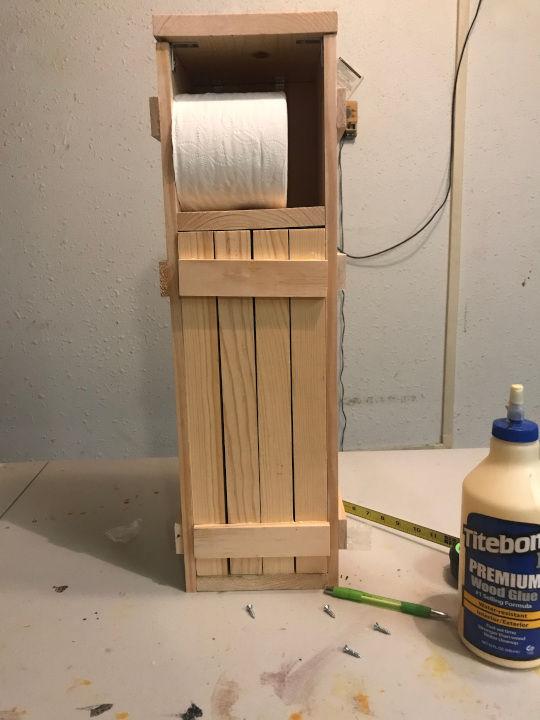
The pieces of wood scraps I pilfered were long enough to house four rolls of toilet paper. Three extra toilet paper rolls would be in a storage compartment. The fourth roll would be accessible and available for immediate… clean-up.
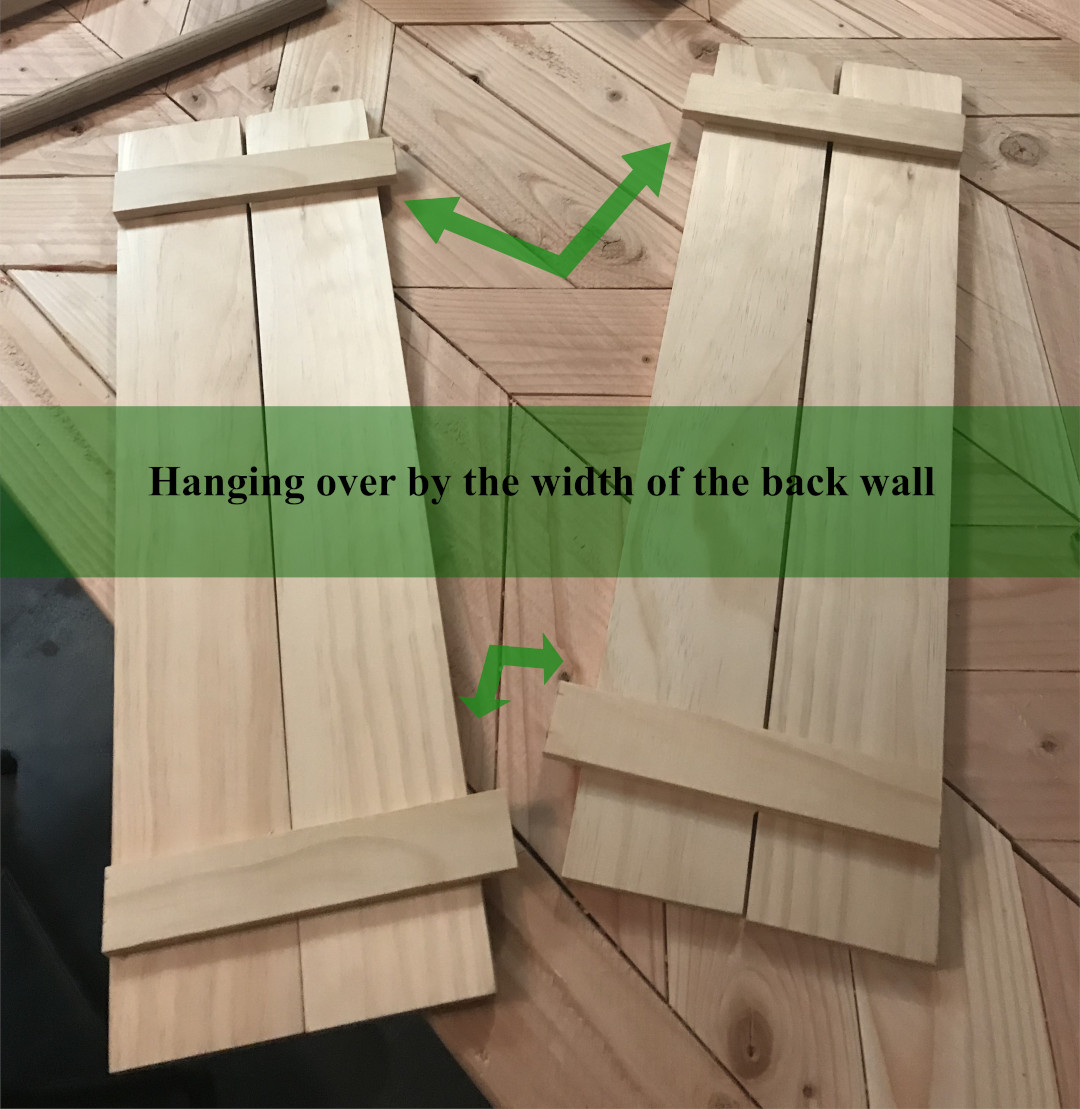
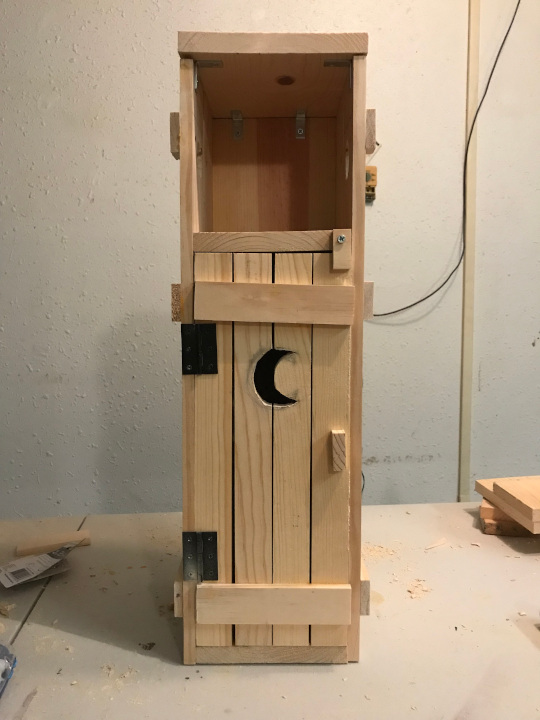
After rough measuring how much toilet paper would fit, it was time to start. Where to start? Let’s do walls. I knew I wanted the walls to have that “old-timey, hastily put together, tiny gaps between the planks” outhouse look. I decided to use some wood screws and wood glue to attach some small pine planks together for the walls. I did this using two other shorter pieces of wood that would serve as flat braces. I made sure to let the brace wood hang over the back end of the sidewalls a bit. I would use these as connecting points to the back wall, so I let them hang by the thickness of the wood I would use for the back wall. To attach the braces to the planks that would make up the wall, I measured and traced out where I wanted everything to be on one side of the wall planks. I then put the braces under the wall planks and did my best to match the tracing with the wood under it. I figured this would give me some consistency on the level of the braces around the outhouse. By matching it up by eye, it would also still have that slightly crooked look you would expect from your typical outhouse.
Attaching the backwall
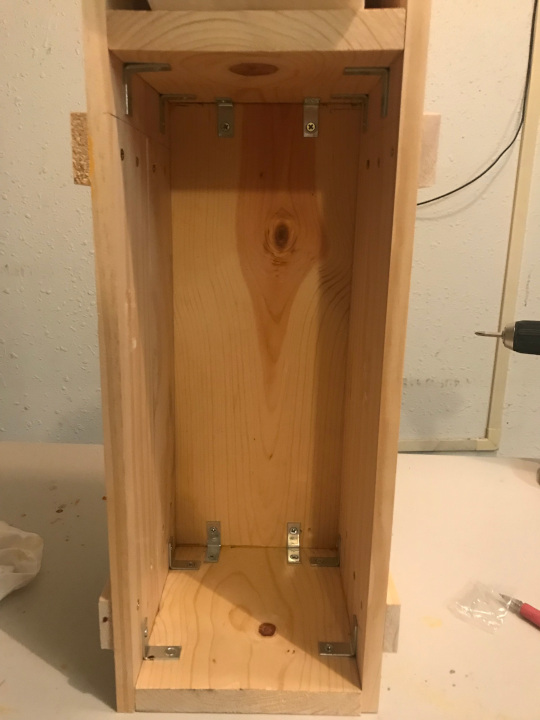
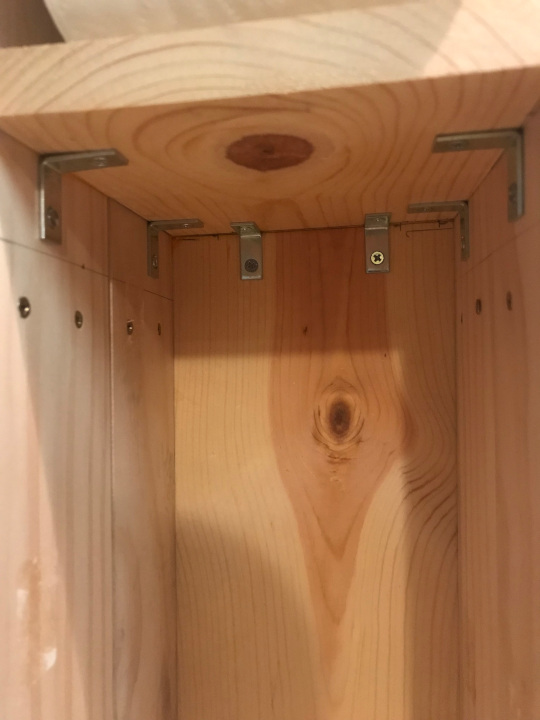
The back wall would just be a solid piece of wood. It would be up against a wall and unseen, so it did not need to be fancy. For the back wall, the floor, the roof, and the middle divider between the storage and the available toilet paper roll, I cut up some 1×8 common board to the needed lengths. Since this was a quick project, I did not do any fancy joinery or pocket holes. It was going to be an outhouse, and of the few outhouses I’ve seen, I never thought, “Wow, that’s a really fancy place to poop.” Though my buddy Diego and I almost got left behind on a middle school trip to Washington DC because we wanted to look at some old famous politician’s outhouse. I want to say it was George Washington’s, but I am not confident enough to commit to that. In any event, I didn’t feel the need for super high standards for my outhouse. At least this is the excuse I use for using L braces I had leftover to attach the walls (vertical structures) to the floor, roof, and middle divider (horizontal structures). The L braced are strong enough for the job, quick enough to install, and if you place them well, you can’t really see them, so they don’t ruin the look. That “interesting enough for two dumb middle schoolers to want to see it” look.
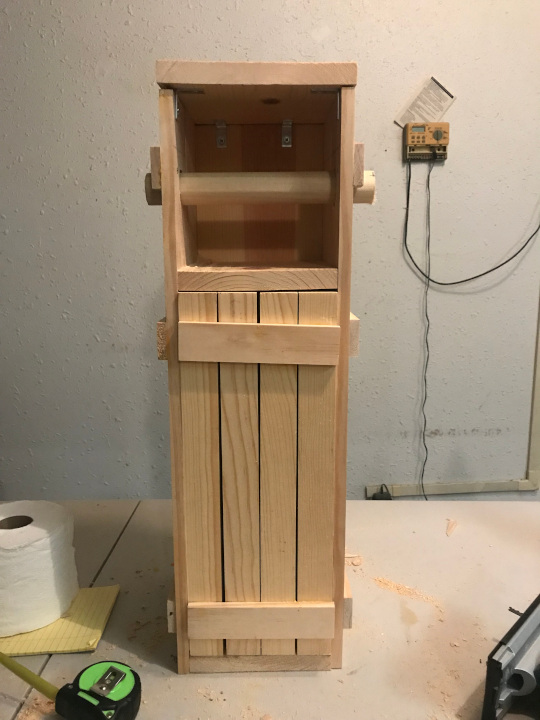
I had my structure built. It had a little bit of a wobble, but a bit of a wobble is fine. The important thing was that it didn’t fall to pieces when I moved it! Even more important is that the intended amount of toilet paper actually fit in it! Usually when I am making something, this is when I put this project on hold, and I would move on to the next idea I had, leaving this outhouse forever undone. But I’m working on that, or trying to at least. Let’s finish this outhouse; what’s next. Welp, there is a big opening in the front, so I had to remedy that. Time for a door.
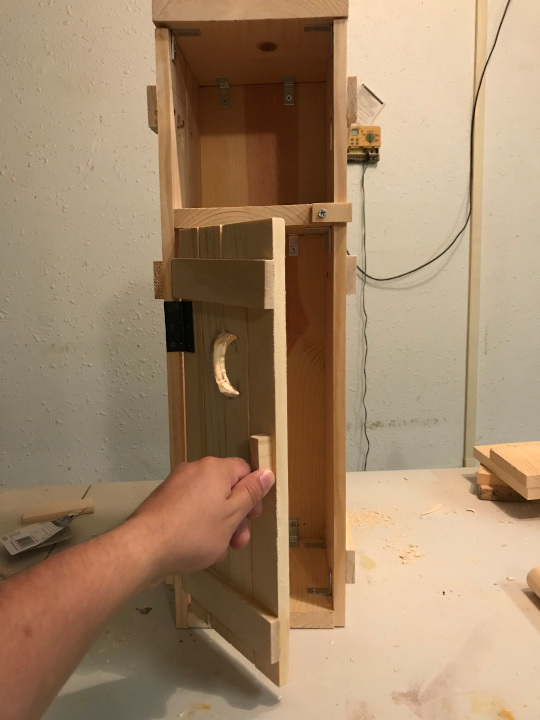
Making the door
I made the door in the same style as the sidewalls, using small flat brace pieces of wood to hold longer wood side by side. It fit almost perfectly in the opening and would stay in place even before installing it. It fit almost too perfectly, actually, and I had to sand down the sides so it would fit better for opening and closing. It is better to be too big because you can make it smaller; if it is too small, you can’t necessarily make it bigger. The door was missing something else to give it that authentic outhouse look. I handed it off to my lovely assistant to add some final details. If she ever reads this, she will be mad that I called her lovely assistant instead of my then-girlfriend now fiancé.
Toilet paper holder
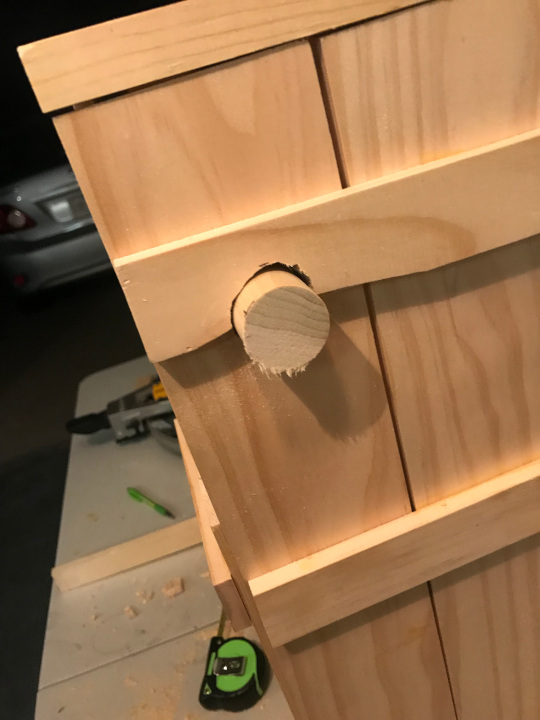
While she worked on detailing the door, I decided to add the actual toilet paper holder in this toilet paper dispenser thing. It had to go straight through the center of the top portion. But guess what was covering the center of the top part, the flat braces holding the wall planks together. This is where not making plans beforehand makes making these things interesting. I had a brief moment of worry but relaxed as I realized I tend to over-engineer the stuff I make, especially if not following plans. I would be fine cutting through one of the braces as two other flat braces held it together. Also, the L braces gave a great deal of support. I went ahead and measured out the holes on either side and drilled a starter hole to fit my jigsaw through. I then used a jigsaw to cut the circle out so some leftover dowel I had on hand could be the toilet paper roll holder.
Crescent moon door
The special project that my girlfriend now wife was working on during this time was finished. She had drawn a crescent moon on the door, and I cut it out with my jigsaw and cleaned it up with a sanding attachment on my Dremel. I then used some small hinges I bought to attach the door to the main structure. I also attached a little piece of wood just above the door that could rotate as a lock to help prevent the door from swinging open. I attached it with a wood screw and a small piece of scrap wood. I used a similar tiny piece of rectangular-shaped wood and simply glued it on for the door handle. I had my structure done and let it sit overnight.
Sanding and finishing
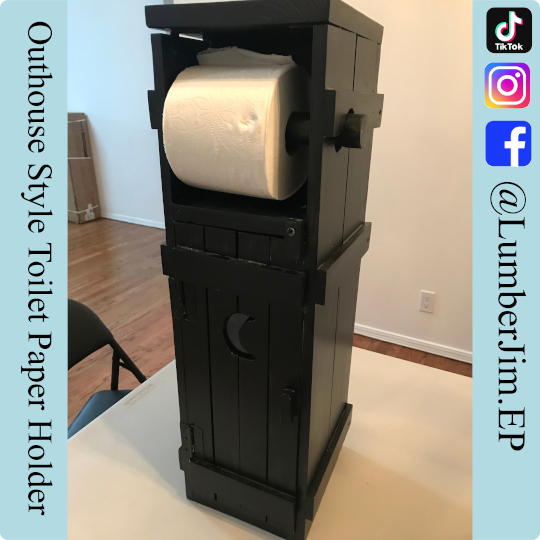
The next day, I sanded it with my palm sander with 80 grit, 120 grit, and finally 220 grit. I then used poly shades black on it. I typically don’t use polyshades as I don’t usually like the end result. However, I needed this to match with other builds in the bathroom including the ladder shelf and vanity, and barn door, that I used this polyshades on for different reasons. The end result looked nice enough, so I went for it for matching sake. It came out good if I do say so myself.
Ready for use
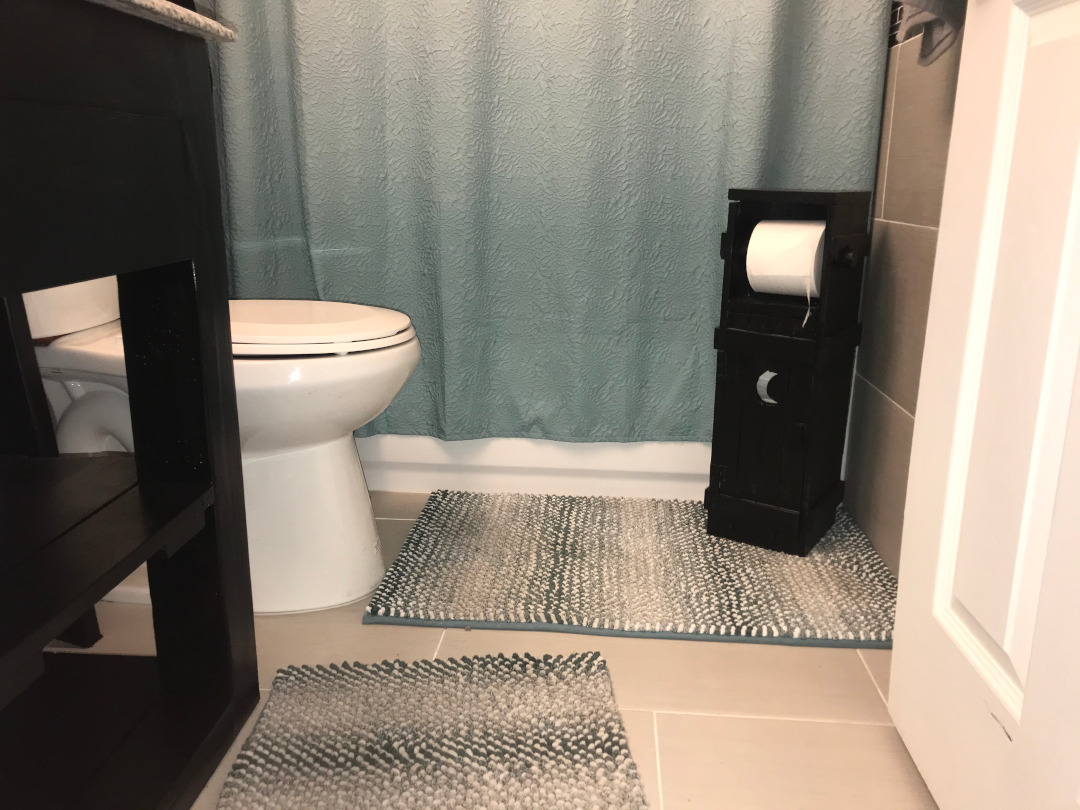
After letting it dry and air out for a few days, we put it in the bathroom. It stood well and did not fall over when you pulled toilet paper from the roll.
Oh, my then-girlfriend, now fiance, made me retake the picture because the first one had the toilet seat up. I guess the fairer sex get mad about leaving the toilet seat up even if it is just a picture

